Procedural Anatomy Documentation
PA Docs 1.0
PA Docs 1.0
  • Welcome
  • Installation
    • HDA Installation
    • License Installation
  • Learn Houdini
  • Build Your First Character
    • Character Model
    • Volume Meshes
    • Model Nodes
      • Anatomy Model
      • Anatomy Skeleton
      • Anatomy Muscle
      • Anatomy Volume
      • Anatomy Output
    • Anatomy Placement
  • Applying Animation
    • Animation Network
    • Animation Nodes
      • Anatomy Anim Import
      • Anatomy Anim Match Pose
      • Anatomy Anim FBIK
      • Anatomy Anim Skel Solve
      • Anatomy Anim Export
    • Anim TOPs Network Nodes
      • Anatomy Anim Workitems
      • Anatomy Anim Fetch
  • Simulation
    • Naming
    • Simulation Nodes
      • Anatomy Rig Load
      • Anatomy Rig AnimSkel to Skel
      • Anatomy Rig Animate Muscle Lines
      • Anatomy Rig Skel to Muscle
      • Anatomy Rig Tissue Collision Setup
      • Anatomy Rig Tissue
      • Anatomy Rig Skin
      • Anatomy Rig Output
    • Simulation TOPs Network Nodes
      • Anatomy Rig Workitems
      • Anatomy Fetch
  • Bugs / Upcoming Fixes
Powered by GitBook
On this page
Export as PDF
  1. Build Your First Character

Anatomy Placement

Accurate placement is essential to creating characters with Procedural Anatomy.

Now that we have created all of our nodes, lets ensure our placement of bones is accurate.
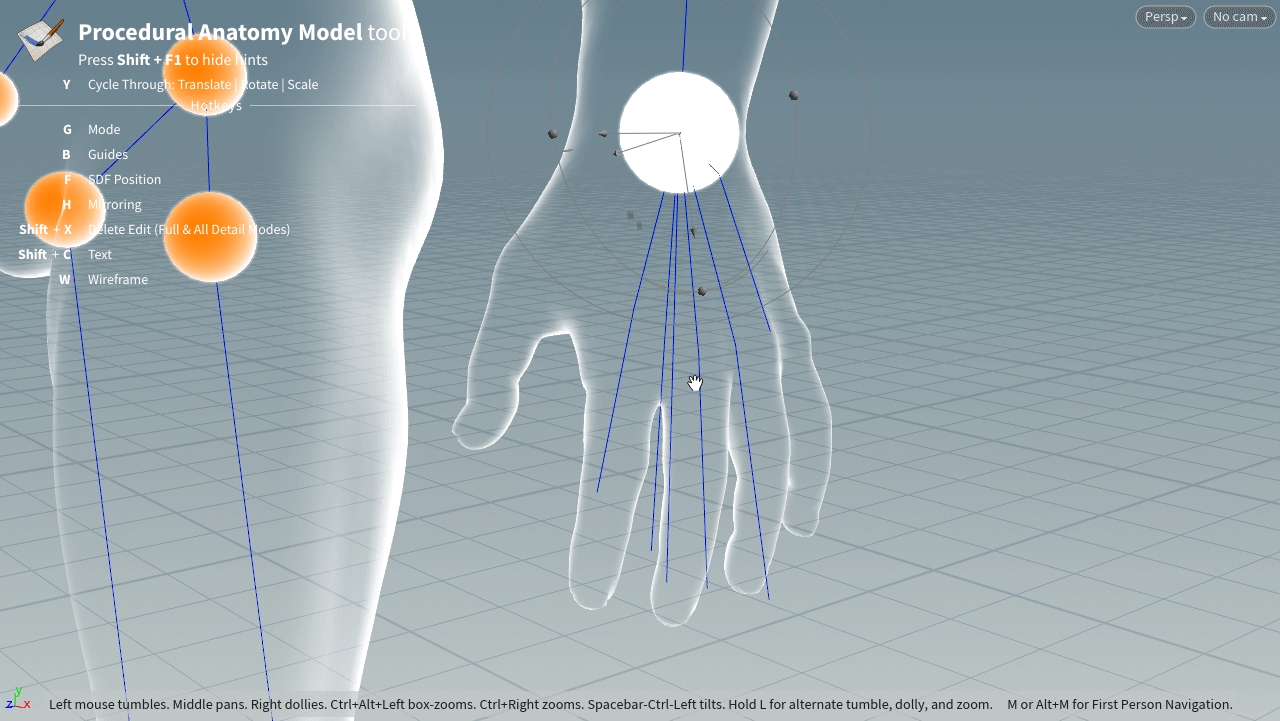
When placing the hands its always a good idea to rotate around the hand and see how the initial placement fits.
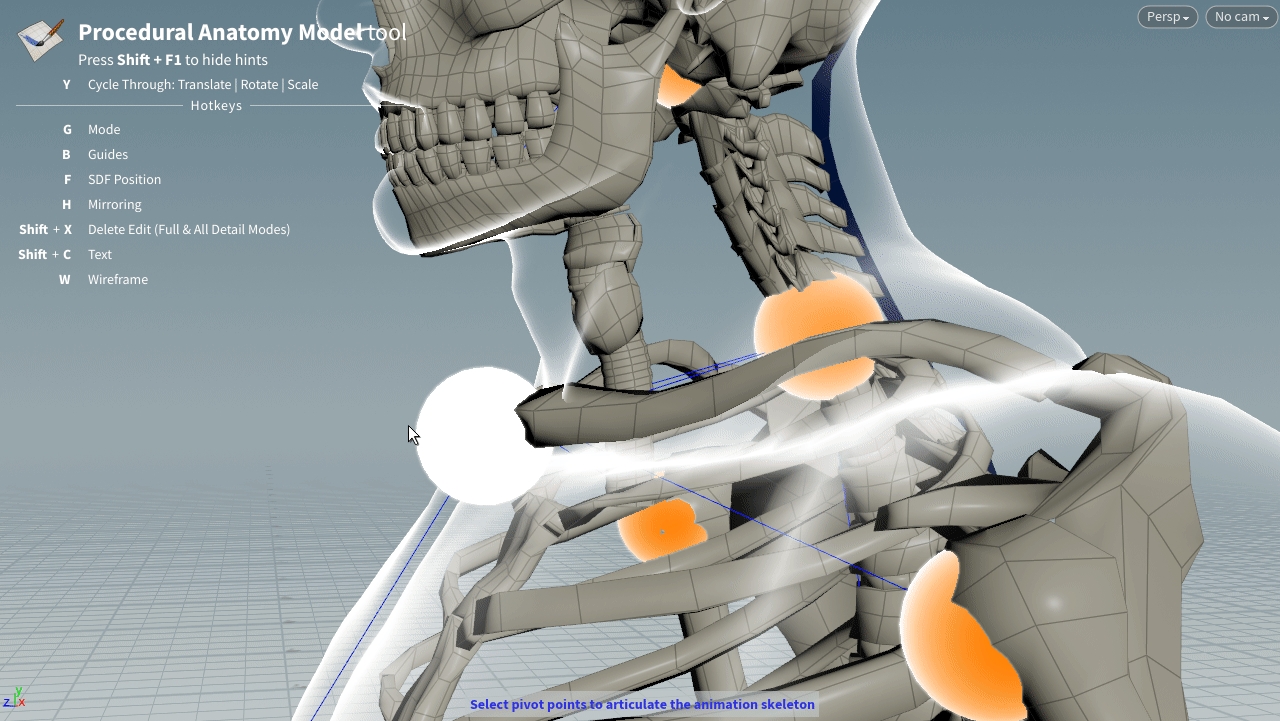
Ensure the clavicle bones fit inside the mesh.
PreviousAnatomy OutputNextApplying Animation