1. Character Model

How to prepare your model for Procedural Anatomy
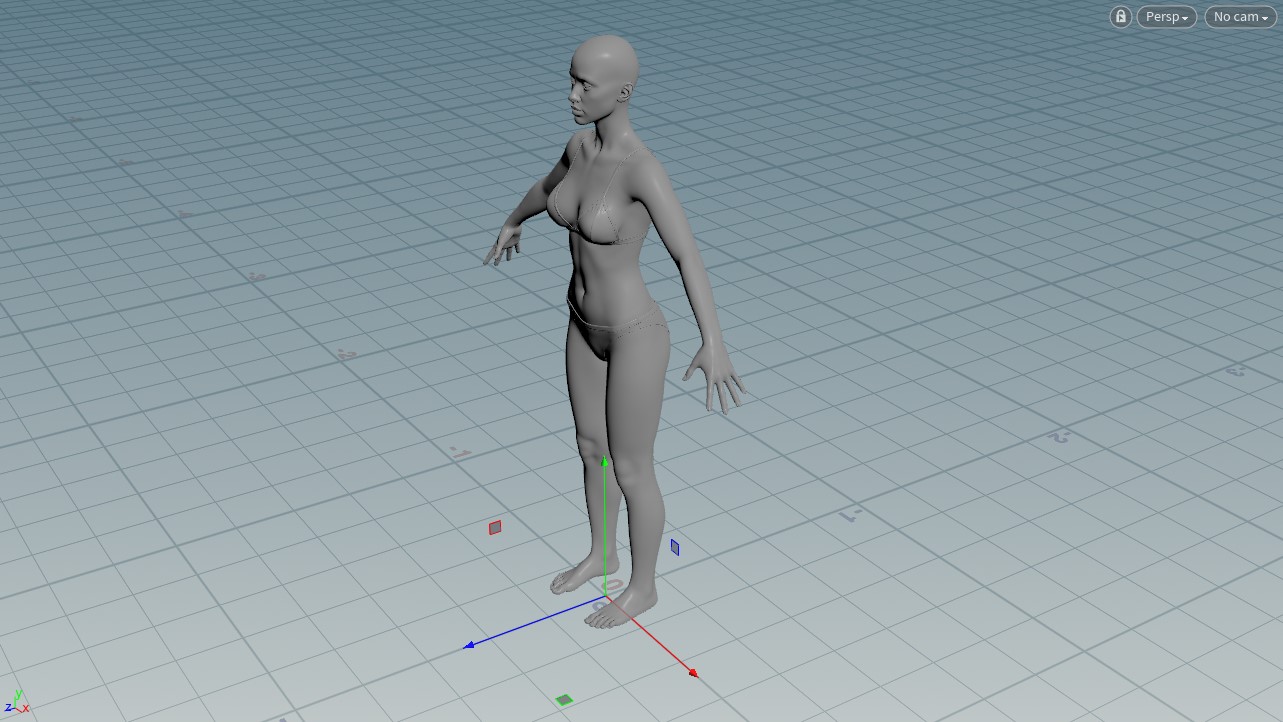
Posing

Procedural Anatomy is designed to be adaptable to your character however we do have recommendations for increasing anatomical accuracy and for what will work better in a simulation stage.

Avoid Non Symmetrical Poses For Animation

While this system is capable of working with characters with non symmetrical poses, you will have problems in retargeting animation to them. Advanced users may know how to mitigate these problems but if you are new to this the safe way is to make sure your characters body is or is almost symmetrical.

A Relaxed Pose Is Best

A relaxed pose has a few criteria, arms out to the side at a 45° angle from the body, feet shoulder width apart, no muscles should be flexing. This pose gives ideal placements on the muscles versus the shape of the body. A relaxed pose only has reference to the shape of your character's model and is not involved in animation.

Rest Pose

Procedural Anatomy considers the characters pose at creation the rest pose. A T-Pose is created for matching animation to the characters animation skeletons. Poses are primarily only used with the animation skeletons.


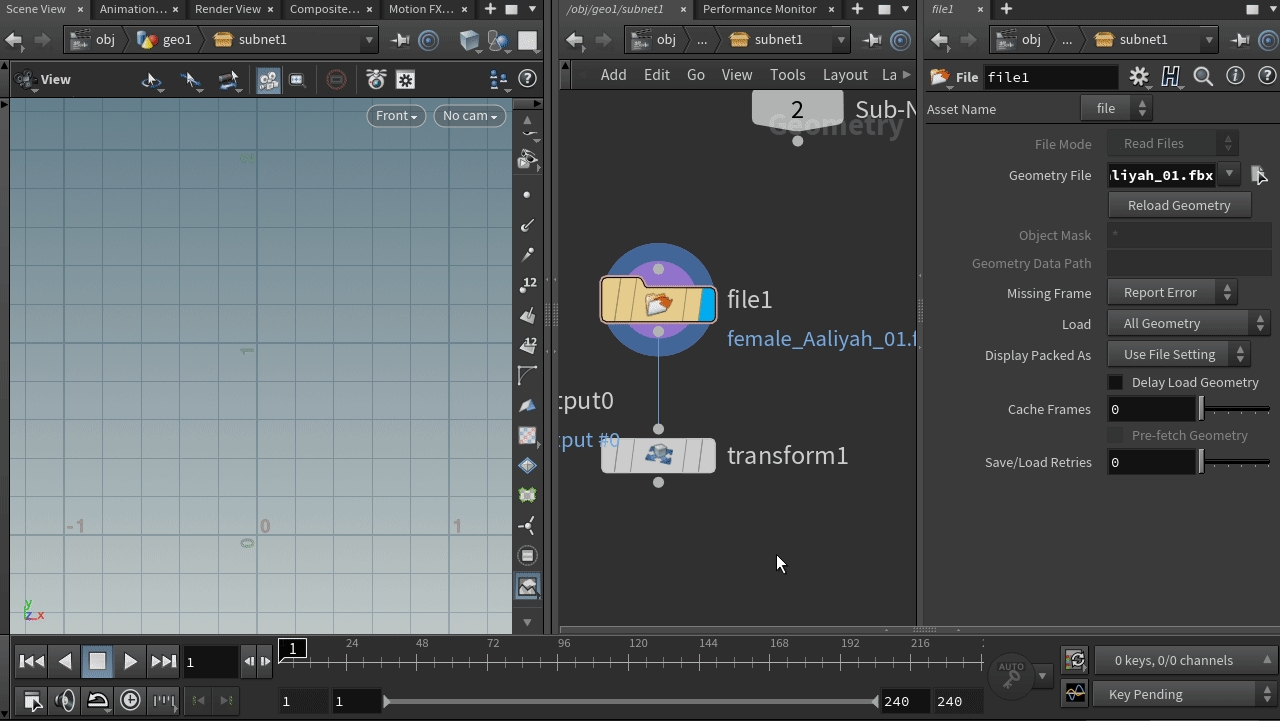
Importing your character into Houdini

We will need to create a way to load your character from disc and assess what fixes we may need to do.

Loading

  • Notice the large words in the top right corner, Objects then Geometry. These are the different contexts that we will be moving between.

  • We are creating a Procedural Anatomy character in the Geometry context.

    1. Create a Geometry node in the Object context.

    2. Create a Subnet node in the Geometry Context.

    3. Create a File node inside the Subnet node.

  • It is recommended to leave the Object context Geometry node.

Have you loaded Polygons?

Procedural Anatomy only works with polygonal characters. Sometimes characters load with extra data that is not visible or Houdini doesn't handle and this may cause problems for the tool. If you suspect this is the case try cleaning the geometry with a polydoctor node.

Scale

Setting up scale correctly is quite important. How big is your character? What units are they in? What units is Houdini in? It can all be confusing.

  • In Houdini 1 unit by default is 1 meter.

  • Here we show the units a file node imports the character at is 100 units instead of 1 unit. This typically happens with files from other software in Houdini because of how different programs work with scale.

  • In our example the FBX file is fixed with a transform node setting uniform scale to 0.01, you can alternatively use an FBX Character Import Node and these problems should be fixed for you.

  • Any file type that loads a character as polygons should be able to be used.

Character Imported is too big or too small

  1. Put down a transform node after the file node

  2. Set Uniform Scale to multiples of 10,

    1. if too big try - 0.01

    2. if too small try - 10

  • It is recommended to have a realistic scale for your character to start with. It is possible to make huge or tiny characters but it will be a bit more challenging and more settings will need to be changed.

  • Procedural Anatomy expects characters between 1m to 2m but may still work outside this range.

Orienting Your Character

  • Houdini is by default Z forward and Y up.

  • Procedural Anatomy expects your character should match the defaults and point forward in the Z direction and up in the Y direction.

  • If you character is imported from another software such as Unreal pay close attention to this.

Last updated