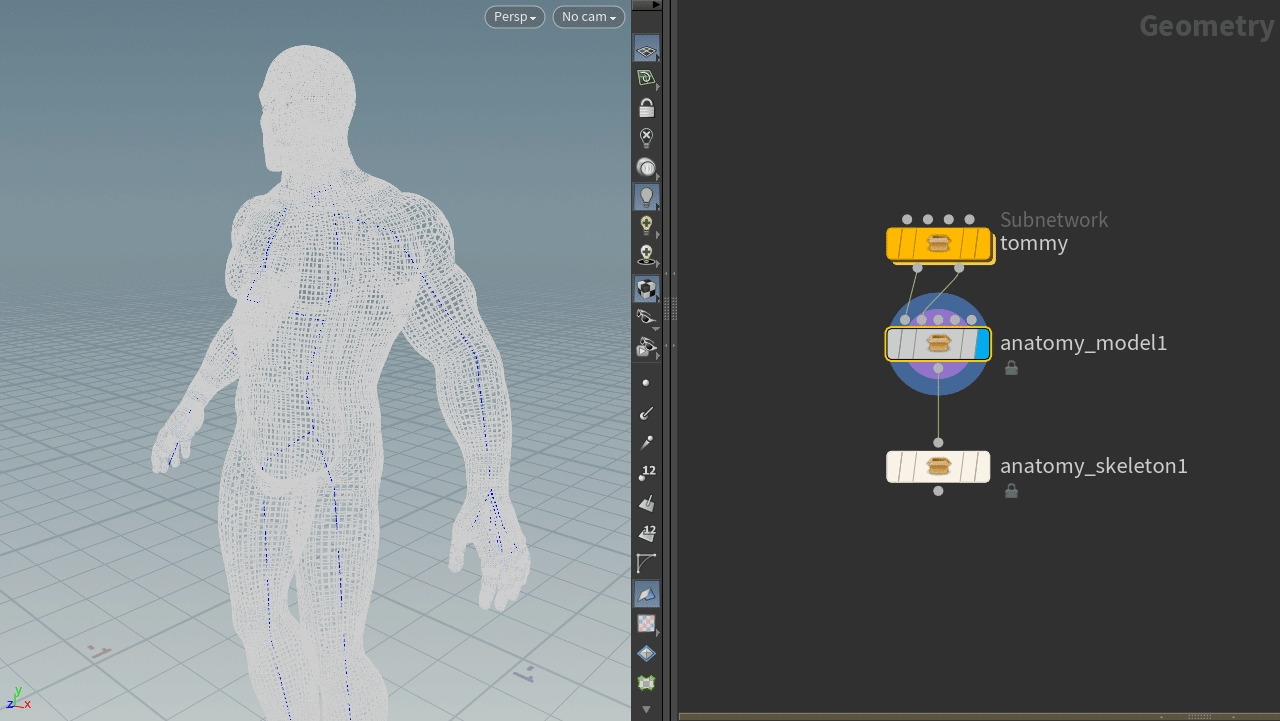
Anatomy Skeleton
Where the skeleton model is created.
Edit The Skeleton With Control Points Visible
A quality of life workflow is visualizing the Skeleton node (with the blue mark on node) while selecting the Model node. This enables you to modify the skeleton while visualizing the skeleton model. Procedural Anatomy has been designed to work like this so you can see what your edits are live.
Shape Parameters
There maybe parameters that we don't call out in this guide. The ones we have called out are most likely to stay into full release.
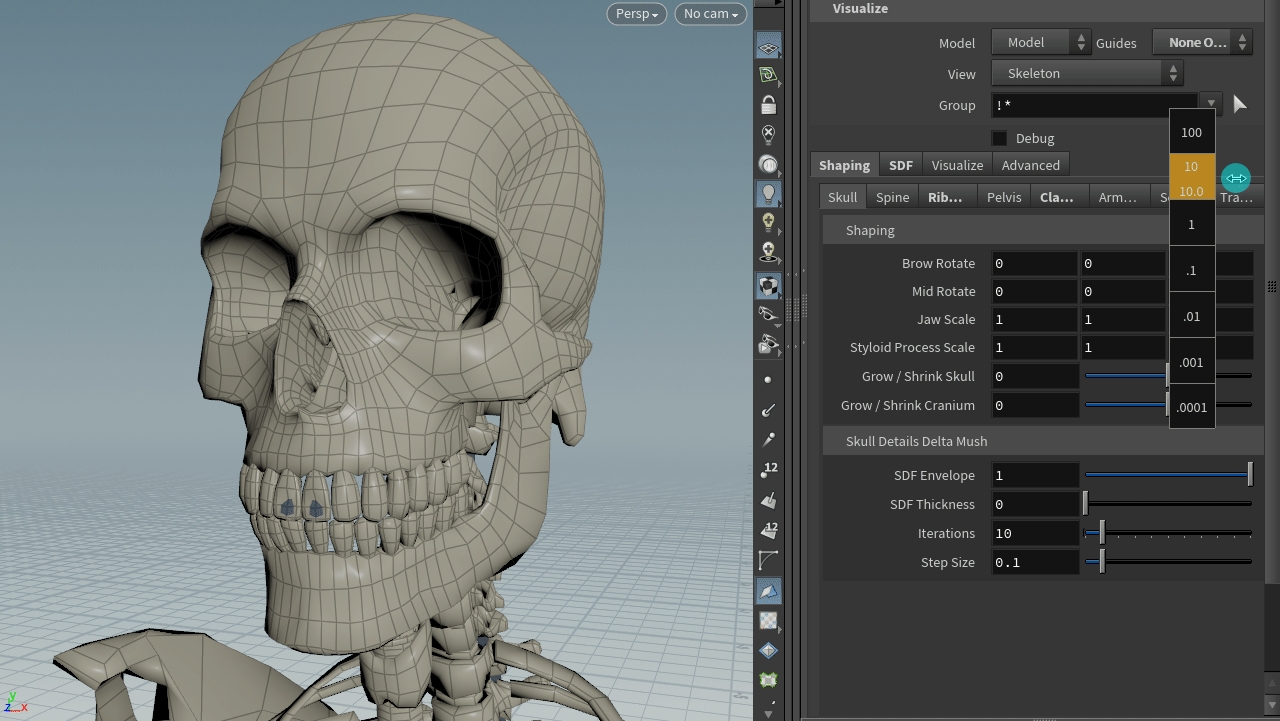
Skull
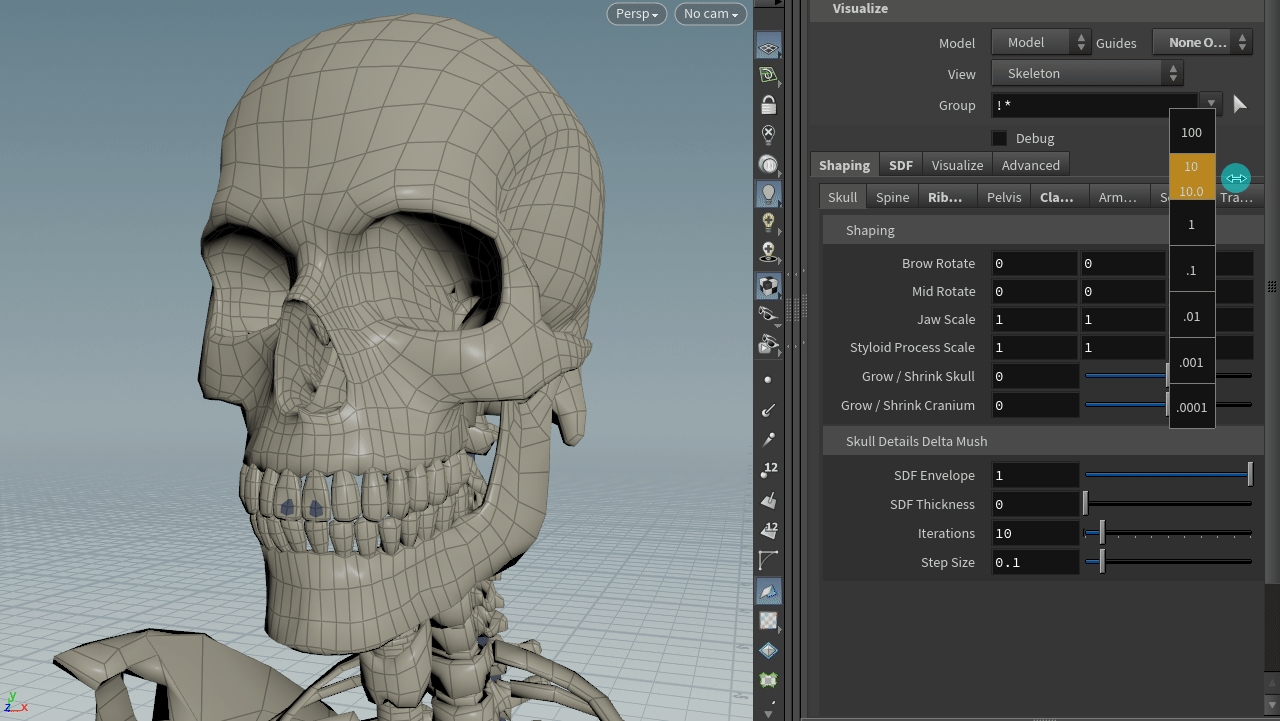
The skull has many parameters to control. They may help in cases where your characters head is a different shape than the Procedural Anatomy base character.
Spine
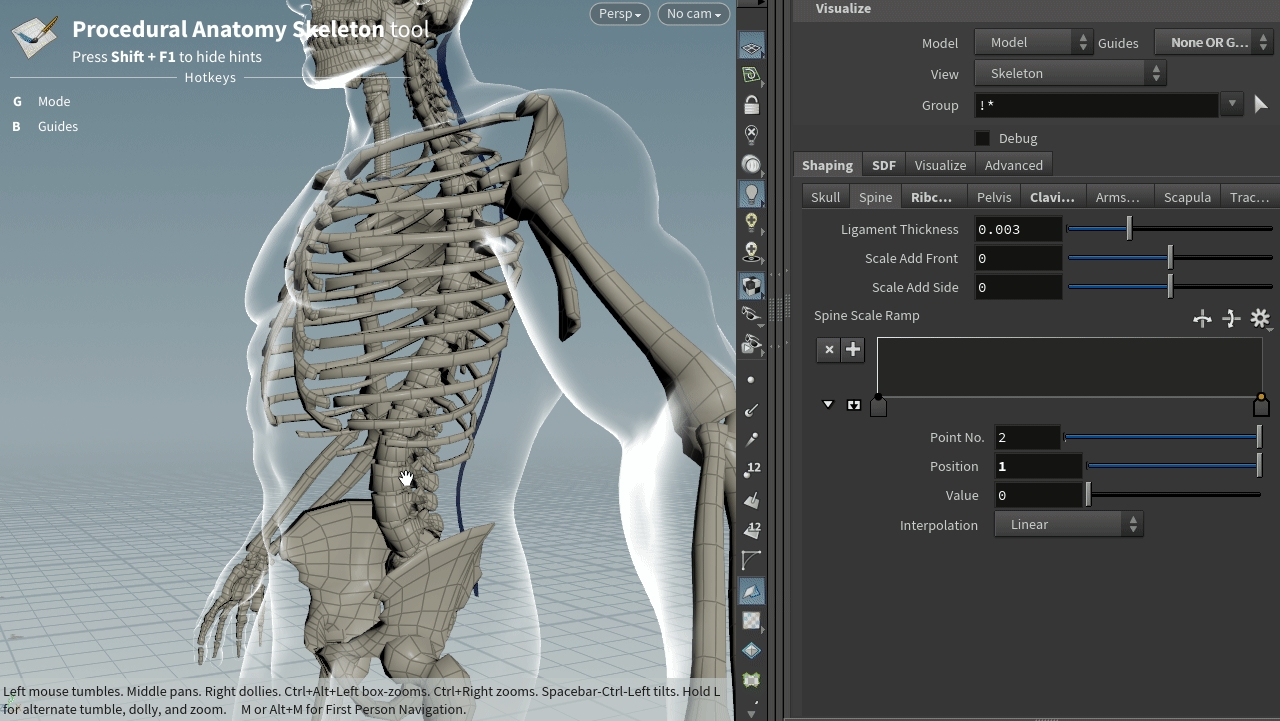
Spine Parameters
Ligament Thickness - Controls thickness of C_vertebral_column_ligaments
Scale Add Front - Adds scale to the spinal column Z
Scale Add Side - Adds scale to the spinal column X
Spine Scale Ramp - Setting a point to position 1 and value 1 can fix spacing problems when scaling the spine front and side by a large amount.
Ribcage
Lower Offset - brings the lower ribcage in or out.
Ribs Iterations - This is smoothing iterations on the overall shape of the ribcage.
Thickness - How thick the ribcage is
Sternum Thickness - How thick the sternum (front middle part) is
Offset Ribcage Bottom - Raise or lower the bottom of the ribcage.
Pelvis
Front Width - Expand the front of the Pelvis
Iliac Crest Thickness - Controls the thickness of the edge of the pelvic bone.
Model Min Thickness - Controls the contraction of the pelvis bones to a flat shape, will make thinner parts of the bones thicker.
Model Max Thickness - Controls the contraction of the pelvis bones
Clavicle
The clavicle controls are designed not to need changing, but if you do want to straighten or use the SDF it's a good idea to play with both of the parameter types.
Straighten - Straighten the clavicle. While this may seem unrealistic it opens the
Thickness - This is the thickness of the offset from the skin to the center of the clavicle bone.
Arms & Legs
Going to call out specific controls to try here.
Humerus
Humerus - Offset - shifts
Humerus Scale - Humerus Blend Scale & Humerus Scale Ramp work in unison, the ramp controls the scale along the length of the bone.
Position Zero - Shoulder
Position One - Elbow
Value Zero - Humerus Scale is automatically calculated
Value One - Humerus Scale is manually set to the humerus blend scale.
Radius & Ulna
Straighten Ulna - Straighten the ulna, may not be realistic.
Straighten Radius - Straighten the Radius , may not be realistic.
Ulna Shape Thickness - how far the bone is away from the skin.
Ulna Scale Offset - makes the bone bigger.
Femur
Straighten - Straighten Femur. Needs work…
Blend - Blend to the shape of the leg.
Scapula
Spine Thickness - Thickness of the bone from the skin
Coracoid Process Position - move the coracoid process position on the scapula. This maybe unrealistic but it helps position the Coracobrachialis away from the head of the Humerus.
Trachea
It's important to move the trachea points on the Model node as well as use these controls. The following parameters have a pushing effect on each other.
Magnitude - Distance to test samples for, 1.0 unit in Houdini’s measurements. This pushes the trachea closer to the skin of the body.
Thickness - Thickness of the skin. This pushes the trachea into the body.
SDF
Limits the bone models to be inside the character. It is a hard limit so it will push bones flat into the body. Smoothing iterations can help with flattened geometry.
Thickness - Thickness of the skin, recommended to be double that of the value for the muscles SDF.